
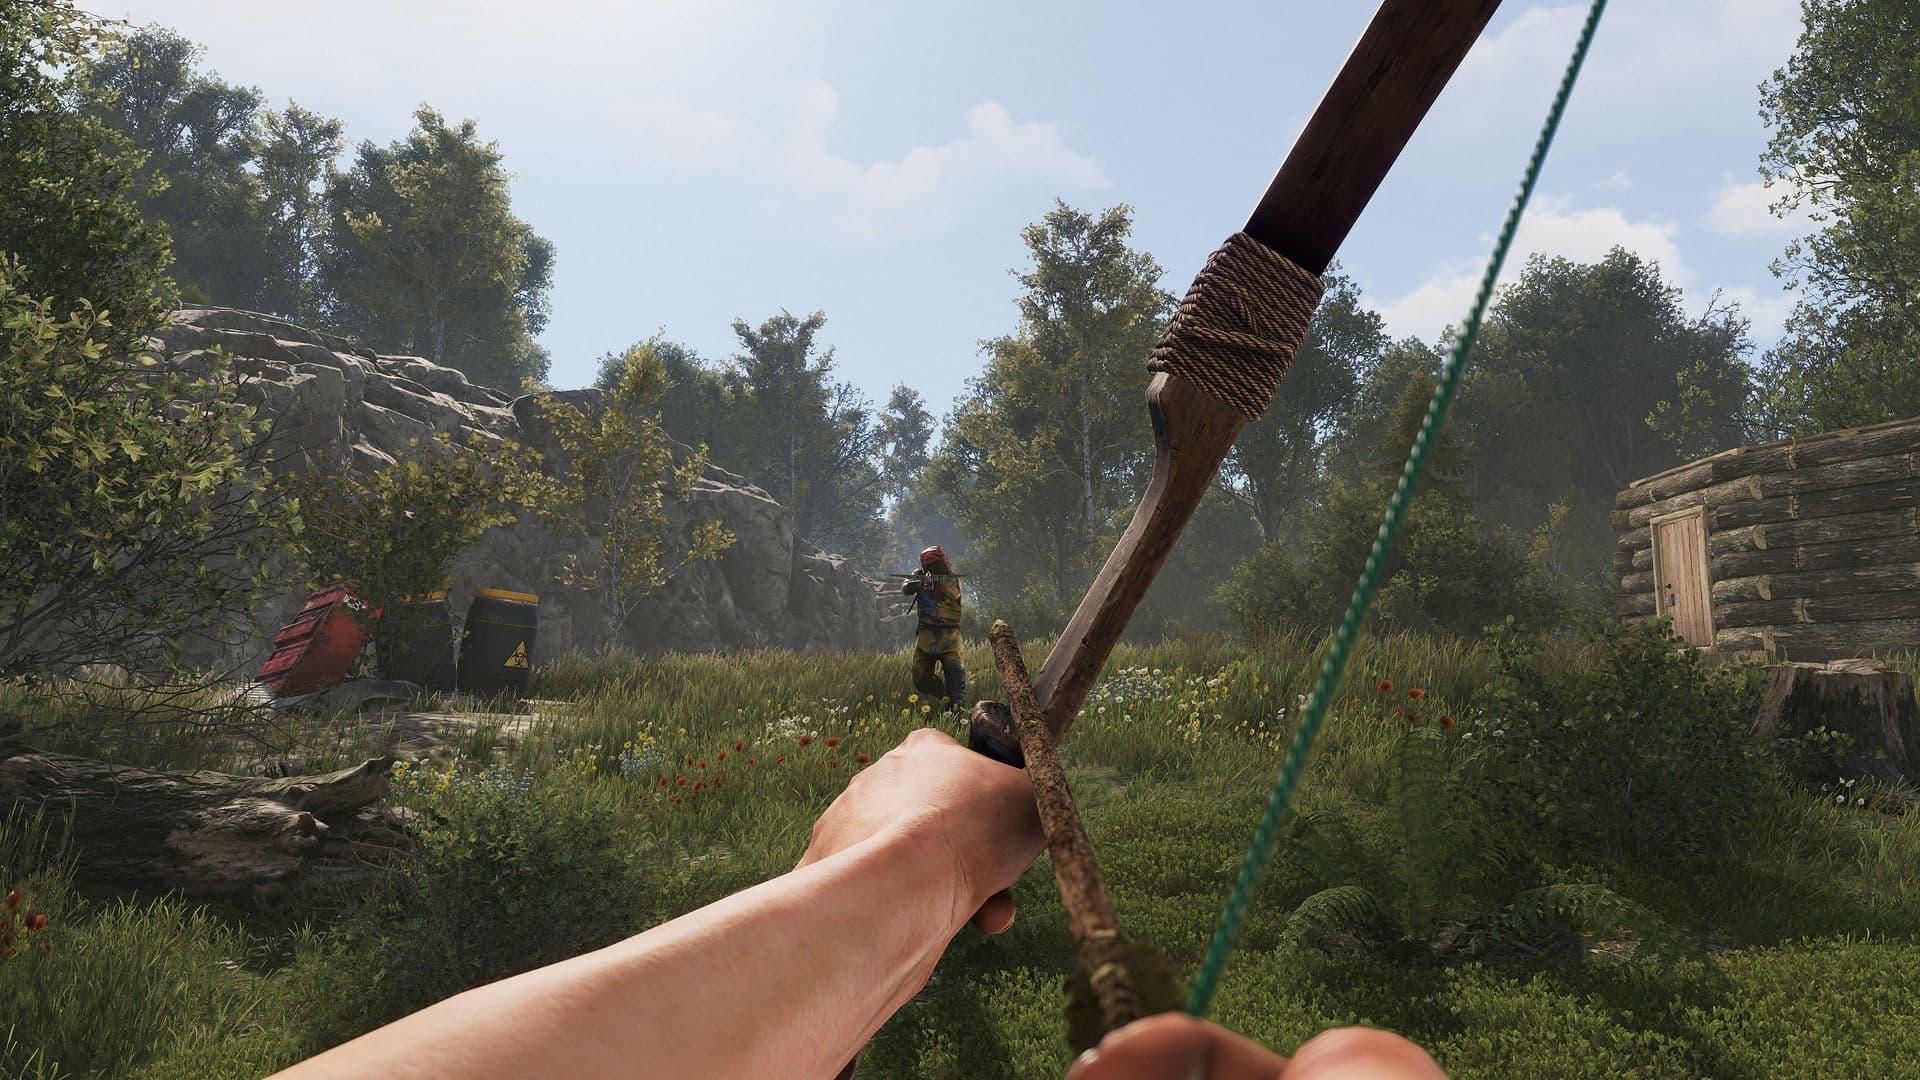
LostHerd
 Duff
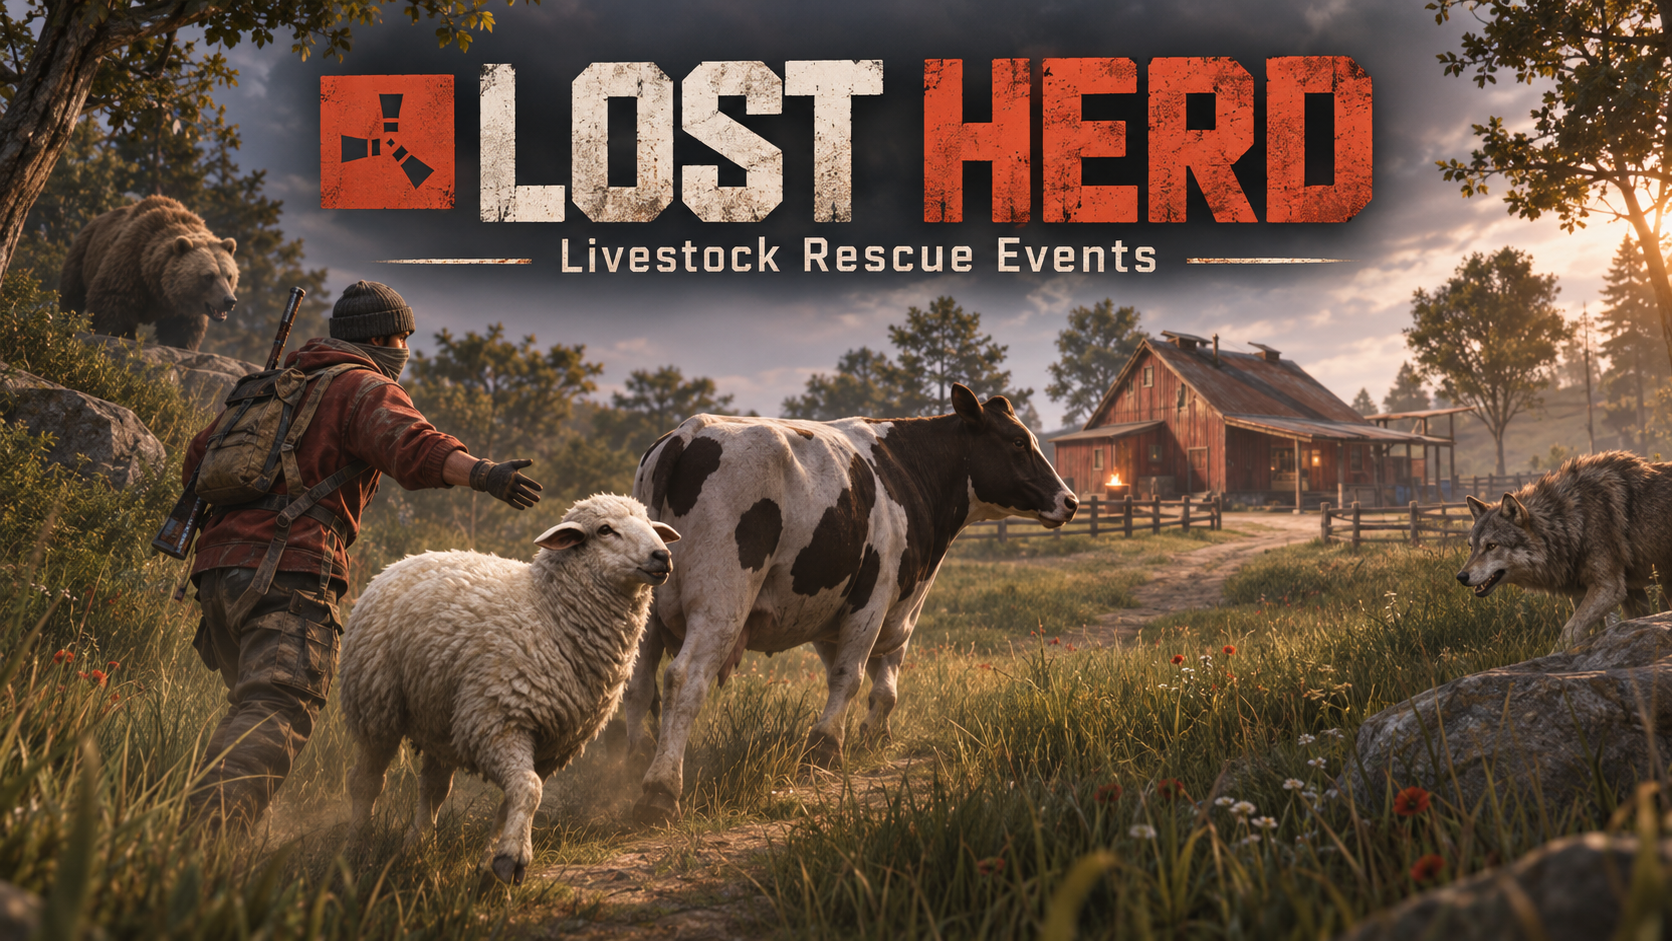
LostHerd
A lost animal. A journey home. A reward for bringing it back alive.
LostHerd adds animal rescue events to your Rust server. Players find a lost cow or sheep, gain its trust, and lead it to a Ranch, Large Barn, or custom delivery location.
Optional wolf and bear encounters add danger along the way. Players can lead the livestock, protect the rescue, and share the rewards for a successful delivery.
Features
- Cow and sheep rescue events using Rust's native trust and leading mechanics.
- Quick and Wild rescue modes with separate rewards and selection weights.
- Automatic events and manual admin controls.
- Automatic Ranch and Large Barn discovery, plus custom delivery locations.
- Configurable map markers and an optional expanding delivery sphere.
- Blue, green, purple, or red sphere visuals.
- Optional wolf and bear escort encounters with configurable bonuses.
- Item rewards, including skin-based custom currency.
- Optional Economics and ServerRewards payouts.
- Group rewards based on eligible escort and defense participation.
- Independent biome exclusions for animal spawns and delivery destinations.
- Editable event timing, distances, encounter settings, rewards, and Lang messages.
How It Works
An event starts automatically or through an admin command. LostHerd selects a delivery destination and searches for a suitable animal spawn with a valid native route.
Players locate the animal, build trust, and lead it toward the destination. If encounters are enabled, hostile animals can threaten the rescue during the journey.
Deliver the animal alive before the event expires to complete the rescue and receive the configured rewards.
Quick Rescue helps nearby players gain familiarity for an easier start.
Wild Rescue leaves familiarity to Rust's normal mechanics, so players must earn the animal's trust.
Delivery Markers And Spheres
Help players find the destination with a delivery map marker and an optional world-space sphere. These visuals can be configured independently.
The sphere supports blue, green, purple, and red. Choose a color through Prefab:
| 1 | "Delivery sphere": { |
| 2 | "Enabled": true, |
| 3 | "Prefab": "green", |
| 4 | "LerpSpeed": 60.0 |
| 5 | } |
Set Prefab to blue, green, purple, or red. LerpSpeed controls the expansion speed; the final size follows the destination's delivery radius automatically. Set Enabled to false to hide it.
Matching native br_sphere asset paths are also accepted. Arbitrary sphere prefabs are not supported.
Rewards And Custom Currency
Quick Rescue and Wild Rescue each have their own Reward settings. Choose the base item shortname, amount, and optional skin ID.
For example, this reward gives 100 ordinary paper:
| 1 | "Reward": { |
| 2 | "Item": "paper", |
| 3 | "SkinId": 0, |
| 4 | "Amount": 100, |
| 5 | "Economics": 0.0, |
| 6 | "ServerRewards": 0 |
| 7 | } |
To use a skin-based custom currency, change Item to its base item shortname and replace SkinId with the currency's actual skin ID. For example, a currency based on skinned paper uses paper plus that skin ID. SkinId: 0 gives the normal unskinned item.
This supports items identified by their base item and skin. It does not call another custom-item plugin's API, run reward commands, or assign custom item names or descriptions. If your currency requires additional plugin-specific metadata, base item and skin alone may not be sufficient.
Item payouts must fit in one native stack and require space in the player's main inventory. Encounter item bonuses use the rescue mode's item and skin and are awarded through successful delivery, rather than immediate kill payouts.
Economics and ServerRewards payouts are optional. Enable their integration settings and configure each mode's corresponding amount when using them. Item rewards require neither plugin.
Group Rewards
- Shared Pool: divide the reward among eligible group members.
- Full Rewards: give each eligible member the full configured reward.
- Leader + Defenders: give the base reward to the qualified delivering leader and split encounter bonuses among qualified defenders.
Configuration Example
Find Group rewards in LostHerd.json. These are the default settings:
| 1 | "Group rewards": { |
| 2 | "Distribution": "Shared Pool", |
| 3 | "MinimumEscortMetres": 40.0, |
| 4 | "EscortRadius": 25.0, |
| 5 | "MinimumDefenseDamage": 50.0, |
| 6 | "MinimumDefenseHits": 2, |
| 7 | "TakeoverSeconds": 3.0, |
| 8 | "MaximumParticipants": 32 |
| 9 | } |
Change Distribution to exactly Shared Pool, Full Rewards, or Leader + Defenders.
| Setting | What it does |
|---|---|
MinimumEscortMetres | Credited escort distance needed to qualify. Default: 40 metres. |
EscortRadius | How close a player must stay to the animal for escort credit. Default: 25 metres. |
MinimumDefenseDamage | Damage required against event hostiles to qualify as a defender. Default: 50 damage. |
MinimumDefenseHits | Damaging hits also required to qualify as a defender. Default: 2 hits. |
TakeoverSeconds | How long a different player/group must maintain the native lead before the rescue group changes. Default: 3 seconds. A confirmed takeover resets the previous group's participation and accumulated bonuses. |
MaximumParticipants | Maximum tracked participants for the active rescue group. Default: 32. |
A player qualifies through enough escort distance OR both defense requirements. With these defaults, that means 40 metres of credited escort, or at least 50 damage across at least 2 damaging hits against event hostiles. Simply being a teammate does not qualify a player. Recipients must be online and belong to the current rescue group when delivery completes.
Payout Example
Suppose a rescue has 150 scrap base reward, 60 scrap encounter bonus, and 3 eligible players:
- Shared Pool: 210 scrap divided between 3 players = 70 scrap each.
- Full Rewards: each eligible player receives 210 scrap, for 630 scrap total. Choose this mode deliberately if you want rewards to scale with group size.
- Leader + Defenders: the qualified delivering leader receives the 150 scrap base reward. If 2 players qualify as defenders, they split the 60 scrap bonus and receive 30 scrap each. The leader can also receive a defender share if they qualify as a defender.
In Leader + Defenders mode, the delivering leader must qualify. If nobody qualifies as a defender, the encounter bonus is not automatically added to the leader's base reward.
Destinations And Biome Controls
Use automatically detected Ranch and Large Barn destinations or register custom delivery points. Selection weights let you adjust which destination types are preferred.
Two independent config sections control Excluded animal spawn biomes and Excluded delivery destination biomes.
Both include Arid, Temperate, Tundra, Arctic, and Jungle toggles. Set a biome to true to exclude it or leave it false to allow it. All are allowed by default.
These settings filter the event's spawn and destination. Routes may still cross excluded biomes.
Commands
Player status
| 1 | /lostherd |
Admin event controls
| 1 | /lostherdadmin start quick cow |
| 2 | /lostherdadmin start quick sheep |
| 3 | /lostherdadmin start wild cow |
| 4 | /lostherdadmin start wild sheep |
| 5 | /lostherdadmin stop |
| 6 | /lostherdadmin status |
Custom delivery locations
| 1 | /lostherdadmin destination add Rescue Ranch 12 |
| 2 | /lostherdadmin destination list |
| 3 | /lostherdadmin destination test <id> |
| 4 | /lostherdadmin destination remove <id> |
Stand at the intended location when adding it. The final number sets the delivery radius in metres. Stop the active event before editing destinations.
Admin permission
| 1 | lostherd.admin |
LostHerd.json
| 1 | { |
| 2 | "Enabled": true, |
| 3 | "Automatic events": true, |
| 4 | "Automatic Ranch and Large Barn destinations": true, |
| 5 | "Automatic delivery radius metres": 12.0, |
| 6 | "Automatic destination weights": { |
| 7 | "Ranch": 50, |
| 8 | "Large Barn": 50 |
| 9 | }, |
| 10 | "Excluded animal spawn biomes": { |
| 11 | "Arid": false, |
| 12 | "Temperate": false, |
| 13 | "Tundra": false, |
| 14 | "Arctic": false, |
| 15 | "Jungle": false |
| 16 | }, |
| 17 | "Excluded delivery destination biomes": { |
| 18 | "Arid": false, |
| 19 | "Temperate": false, |
| 20 | "Tundra": false, |
| 21 | "Arctic": false, |
| 22 | "Jungle": false |
| 23 | }, |
| 24 | "Show delivery map marker": true, |
| 25 | "Delivery sphere": { |
| 26 | "Enabled": true, |
| 27 | "Prefab": "green", |
| 28 | "LerpSpeed": 60.0 |
| 29 | }, |
| 30 | "Chat": { |
| 31 | "Global announcements enabled": true, |
| 32 | "Use prefix": true, |
| 33 | "Icon SteamID": 0 |
| 34 | }, |
| 35 | "Animal tracking": { |
| 36 | "Enabled": true, |
| 37 | "RevealDelaySeconds": 300.0, |
| 38 | "UpdateSeconds": 5.0 |
| 39 | }, |
| 40 | "Escort encounters": { |
| 41 | "Enabled": true, |
| 42 | "Quick": true, |
| 43 | "Wild": true, |
| 44 | "MinimumTravelMetres": 100.0, |
| 45 | "MaximumTravelMetres": 150.0, |
| 46 | "Chance": 0.5, |
| 47 | "CooldownSeconds": 60.0, |
| 48 | "MaximumWaves": 3, |
| 49 | "MaximumHostiles": 4, |
| 50 | "MinimumSpawnMetres": 15.0, |
| 51 | "MaximumSpawnMetres": 25.0, |
| 52 | "WaveSeconds": 120.0, |
| 53 | "MaximumMovementPerSecond": 12.0, |
| 54 | "Panic": false, |
| 55 | "Pool": [ |
| 56 | { |
| 57 | "Enabled": true, |
| 58 | "Name": "LoneWolf", |
| 59 | "Weight": 70, |
| 60 | "Prefab": "assets/rust.ai/agents/wolf/wolf2.prefab", |
| 61 | "Count": 1, |
| 62 | "Bonus": { |
| 63 | "Items": 20, |
| 64 | "Economics": 0.0, |
| 65 | "ServerRewards": 0 |
| 66 | } |
| 67 | }, |
| 68 | { |
| 69 | "Enabled": true, |
| 70 | "Name": "WolfPair", |
| 71 | "Weight": 30, |
| 72 | "Prefab": "assets/rust.ai/agents/wolf/wolf2.prefab", |
| 73 | "Count": 2, |
| 74 | "Bonus": { |
| 75 | "Items": 40, |
| 76 | "Economics": 0.0, |
| 77 | "ServerRewards": 0 |
| 78 | } |
| 79 | }, |
| 80 | { |
| 81 | "Enabled": true, |
| 82 | "Name": "BearAmbush", |
| 83 | "Weight": 20, |
| 84 | "Prefab": "assets/rust.ai/agents/bear/bear.prefab", |
| 85 | "Count": 1, |
| 86 | "Bonus": { |
| 87 | "Items": 60, |
| 88 | "Economics": 0.0, |
| 89 | "ServerRewards": 0 |
| 90 | } |
| 91 | } |
| 92 | ] |
| 93 | }, |
| 94 | "Group rewards": { |
| 95 | "Distribution": "Shared Pool", |
| 96 | "MinimumEscortMetres": 40.0, |
| 97 | "EscortRadius": 25.0, |
| 98 | "MinimumDefenseDamage": 50.0, |
| 99 | "MinimumDefenseHits": 2, |
| 100 | "TakeoverSeconds": 3.0, |
| 101 | "MaximumParticipants": 32 |
| 102 | }, |
| 103 | "Minimum online players": 3, |
| 104 | "Minimum interval minutes": 60.0, |
| 105 | "Maximum interval minutes": 120.0, |
| 106 | "Event duration minutes": 25.0, |
| 107 | "Minimum spawn distance": 250.0, |
| 108 | "Maximum spawn distance": 600.0, |
| 109 | "Maximum spawn attempts": 12, |
| 110 | "Maximum journal entries": 500, |
| 111 | "Quick Rescue": { |
| 112 | "Enabled": true, |
| 113 | "Weight": 70, |
| 114 | "Reward": { |
| 115 | "Item": "scrap", |
| 116 | "SkinId": 0, |
| 117 | "Amount": 150, |
| 118 | "Economics": 0.0, |
| 119 | "ServerRewards": 0 |
| 120 | } |
| 121 | }, |
| 122 | "Wild Rescue": { |
| 123 | "Enabled": true, |
| 124 | "Weight": 30, |
| 125 | "Reward": { |
| 126 | "Item": "scrap", |
| 127 | "SkinId": 0, |
| 128 | "Amount": 225, |
| 129 | "Economics": 0.0, |
| 130 | "ServerRewards": 0 |
| 131 | } |
| 132 | } |
| 133 | } |

Trusted hosting partner. Affordable game servers with solid support and panels.
Visit site ↗